How to Install AFS Rediwall? (Step-By-Step Guide)
How to Install AFS Rediwall? (Step-By-Step Guide)

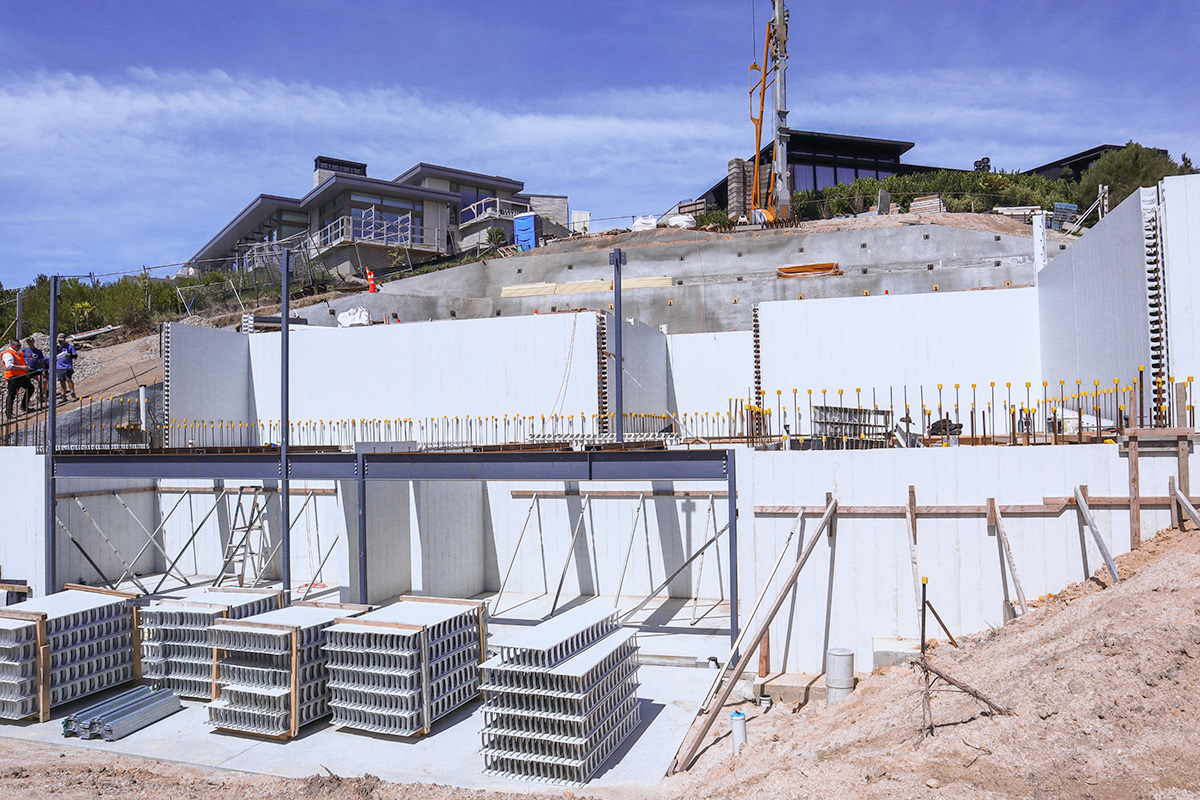
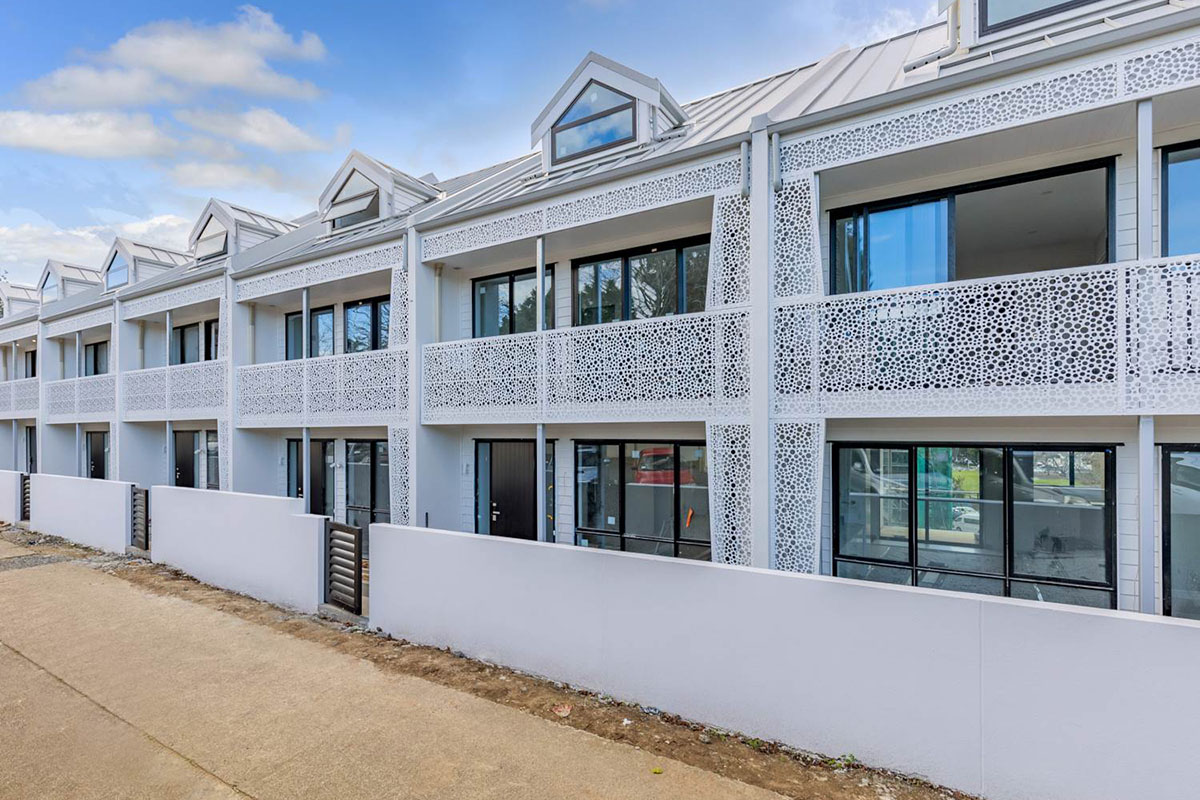
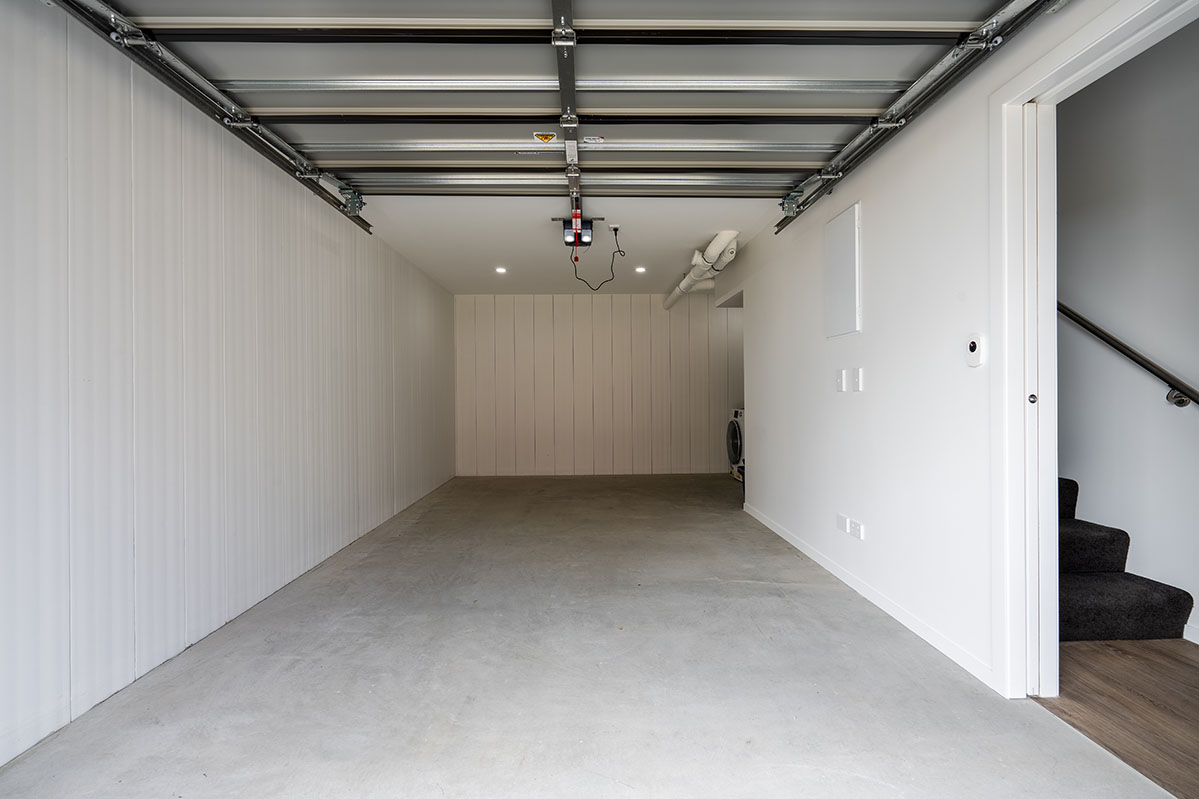
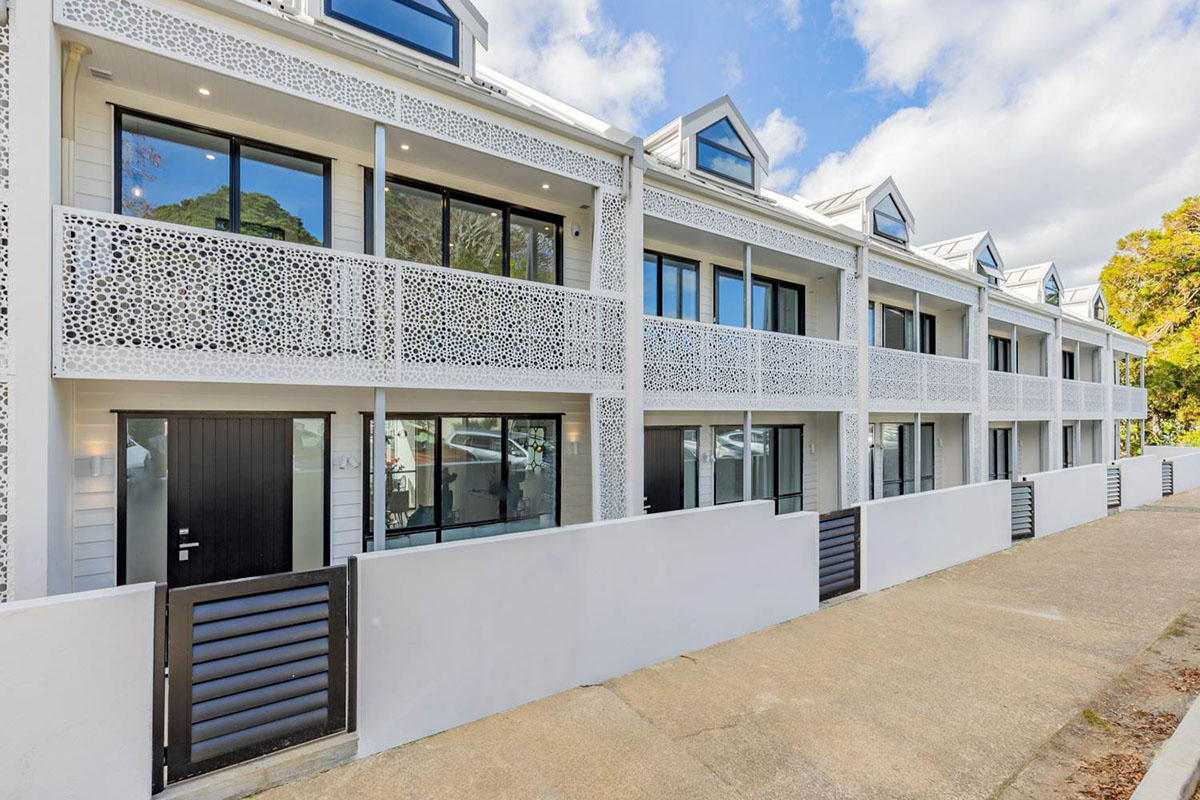
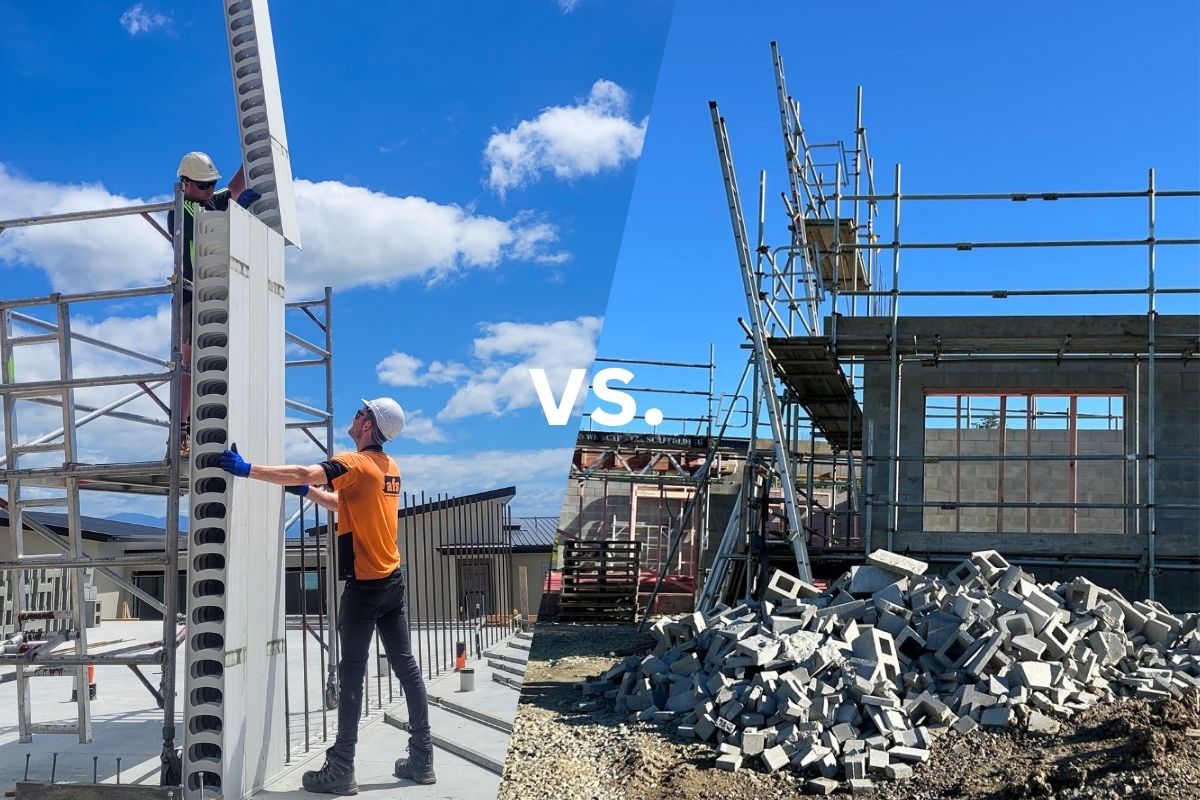
AFS Rediwall is fast becoming a preferred solution across New Zealand, commonly used in retirement villages, medium-density housing, and high-end homes, particularly for basements, retaining walls, and other applications. As a replacement for traditional blockwork, AFS Rediwall is designed for speed and simplicity of installation, allowing builders to install it themselves. In this Rediwall installation overview, we’ll outline the essential steps for to install AFS Rediwall successfully.
1. Preparation for AFS Rediwall Installation – Set Up
To start, ensure you have all the necessary equipment by downloading our comprehensive Installation Guide.
Place the AFS Rediwall floor track over the starter bars in the required location, fixing it to the concrete footing or slab with a masonry anchor fixing. Refer to the Installation Guide for specifics on water treatment of cold joints.


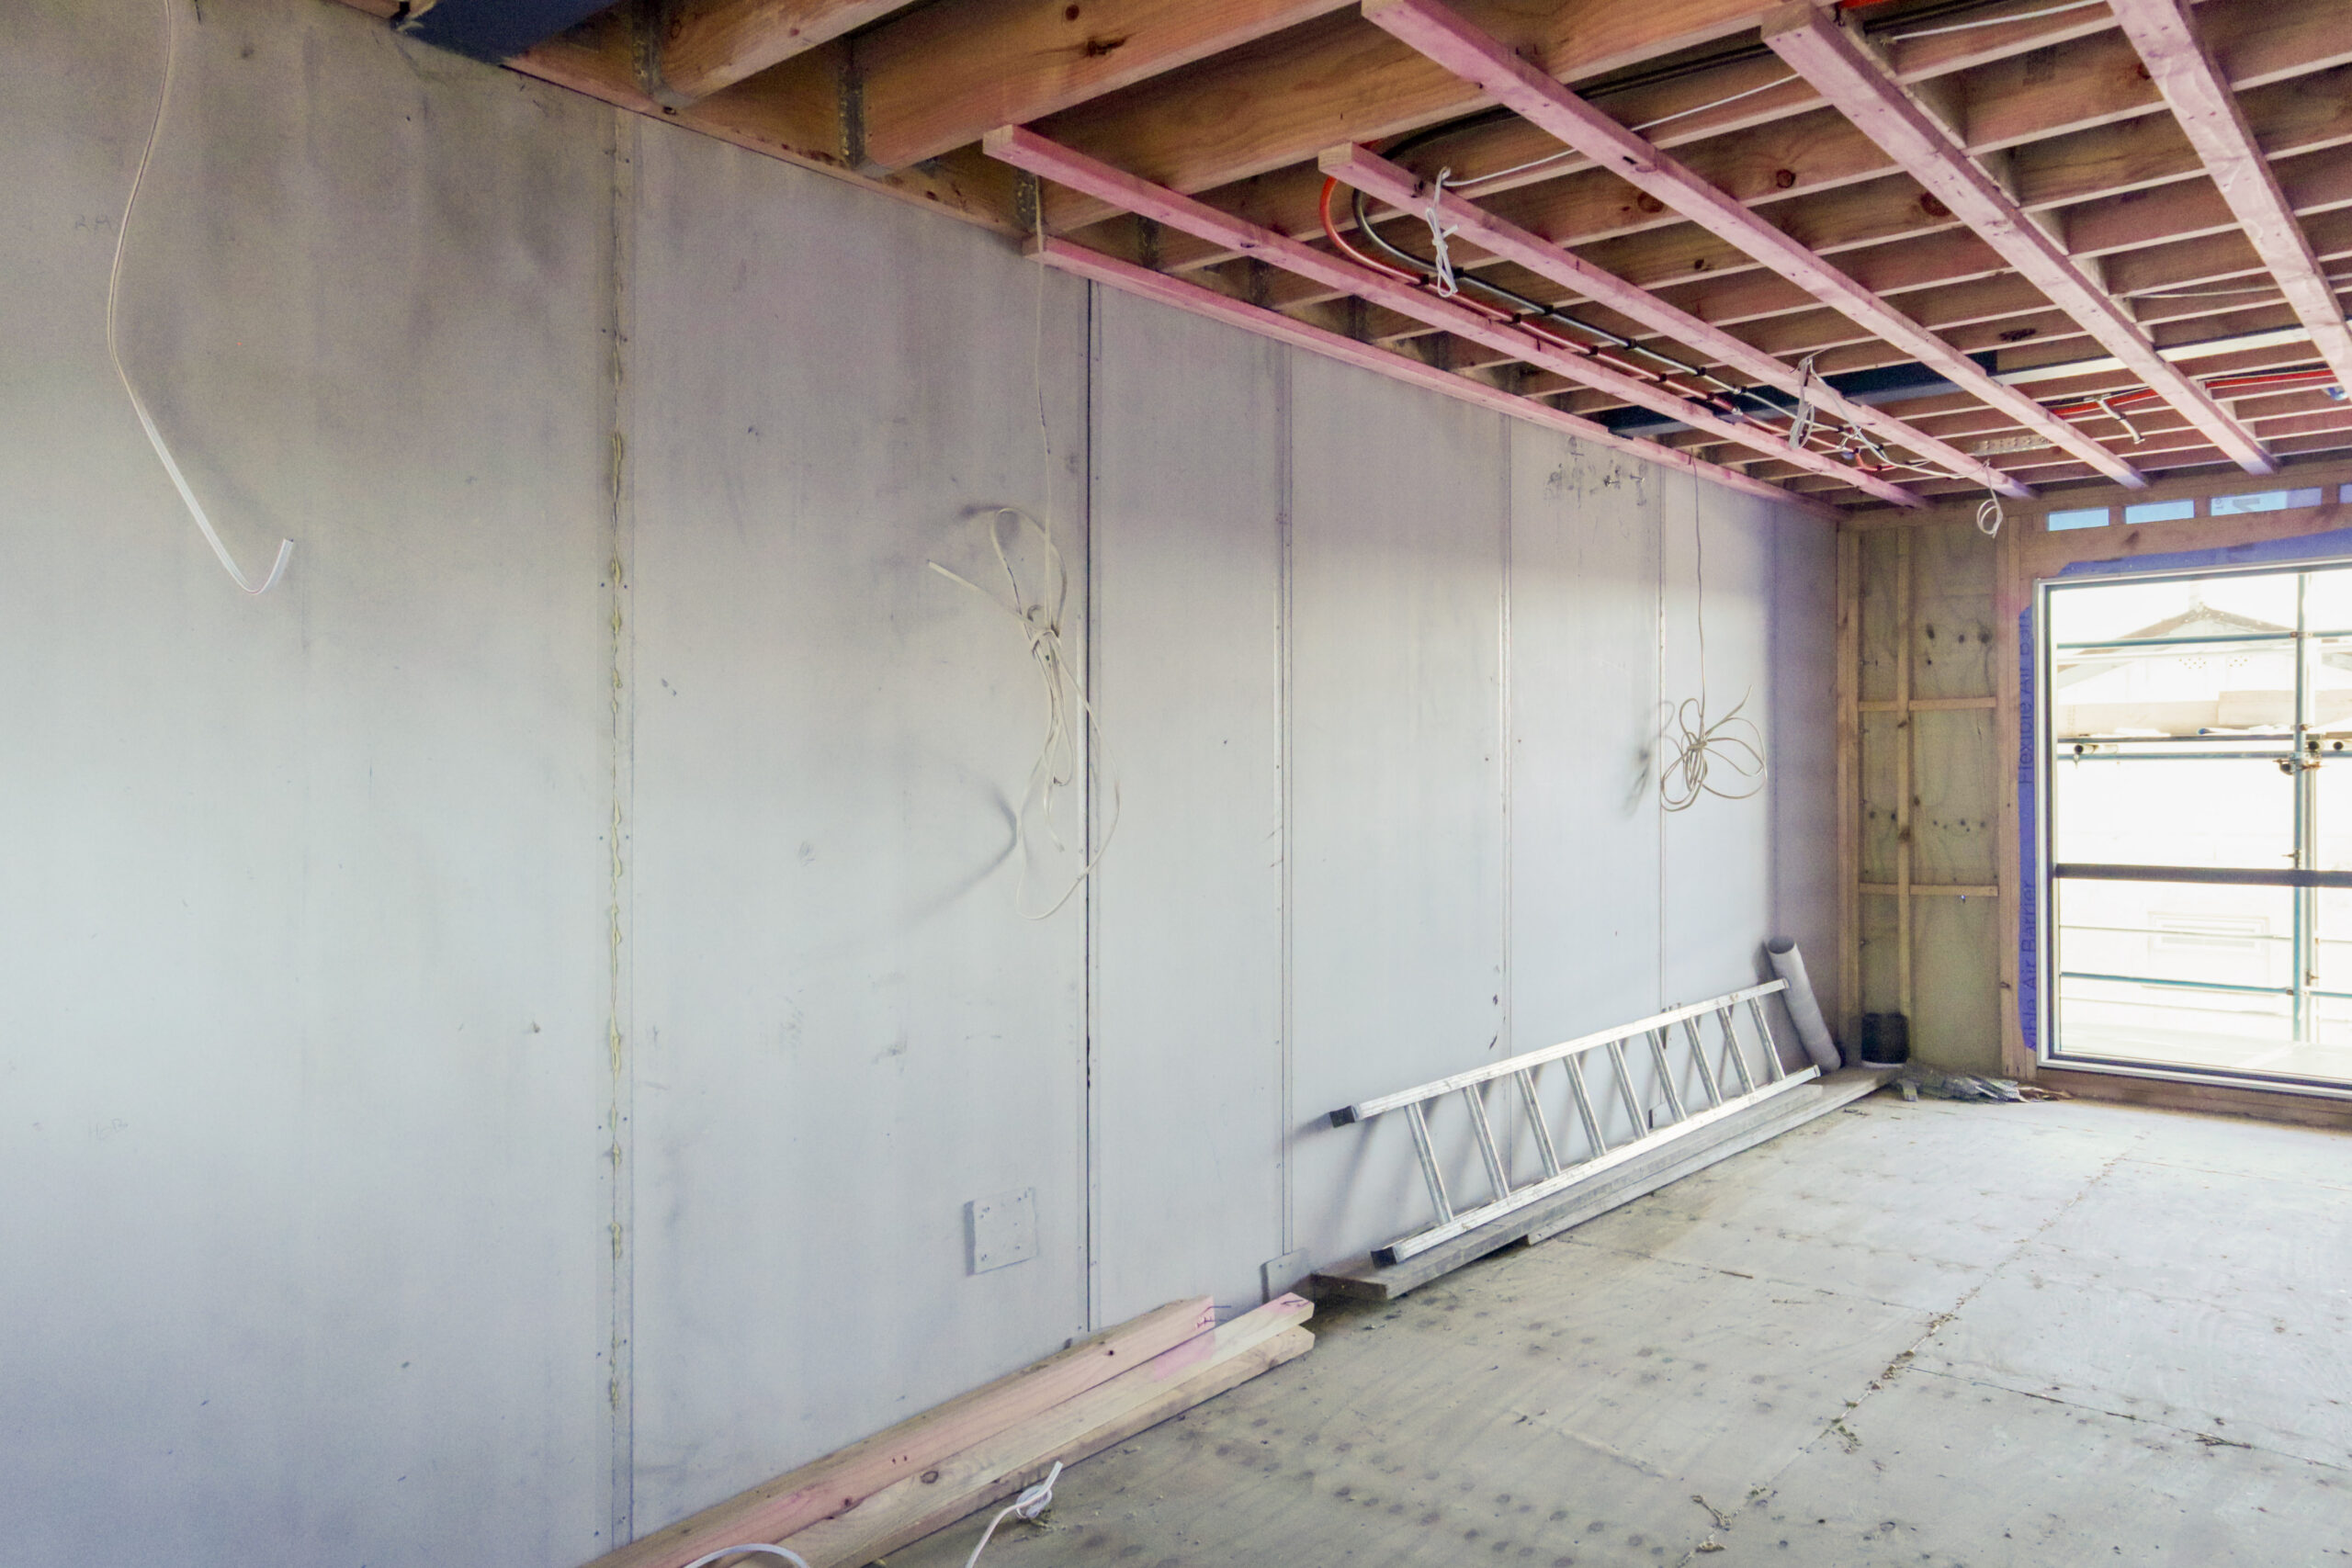
2. Installation – AFS Rediwall Panels
With the floor track in place, begin installing AFS Rediwall panels. If your wall has corners, start there and work outward. Position the Rediwall panel over the floor track and starter bars, attaching panels by sliding or clipping them into place and securing them to the floor track.


3. Propping and Bracing the Rediwall
Propping is necessary to keep the Rediwall panels plumb and straight and should be done as construction proceeds. A horizontal brace Top Hat or LVL timber should be attached to the Rediwall in the top third of the panels. Light gauge adjustable braces should be anchored to the slab or concrete deadmen and fixed to the horizontal brace. The braces are then adjusted to suit.


4. Reinforcement Installation
Reinforcing is also installed as construction proceeds and should be in accordance with the project engineers specification. Once a sufficient number of Rediwall panels are installed, slide in horizontal reinforcing bars through the holes. Slide vertical reinforcing bars down through the Rediwall profiles to the specified positions from the top of the Rediwall panel. For added reinforcement, such as U bars and hook bars, refer to the installation guide for detailed placement.


5. Core Filling with Concrete
Rediwall requires a specific concrete mix and placement technique for best results – refer to your AFS representative for further details. Concrete should be poured using a boom pump with a 50mm hose, starting from the corners and moving toward the middle of each wall. To ensure an even fill, use a concrete vibrator as you pour.
After filling, clean the walls promptly to remove any concrete splatter. Props can be removed once approval from the structural engineer has been granted.

Step-By-Step Guide
AFS Rediwall Installation Guide
AFS Rediwall® simplifies the installation process for builders by speeding up construction and allowing builders to install the wall themselves, reducing the number of subcontractors on-site. Download this installation guide to gain insight into how to build basements, retaining walls, lift and stair cores, and more.